
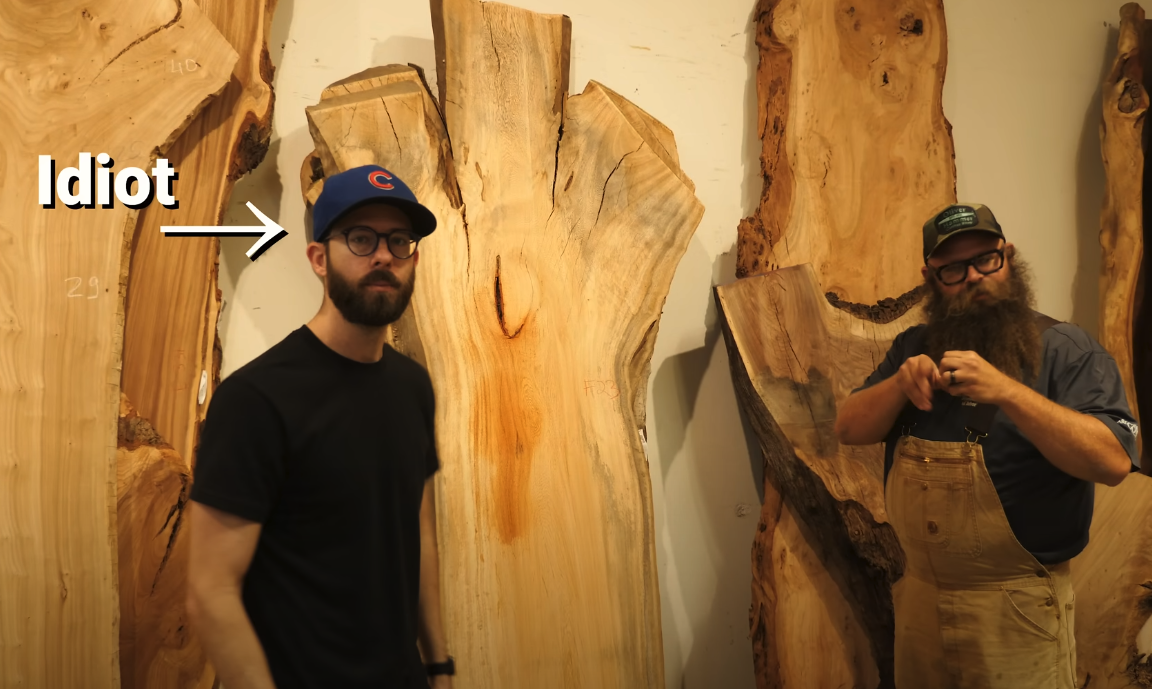
Ever lock eyes with a slab of wood and think, “Wow… what a disaster. I need that in my life”? Yeah, me neither. But somehow, that’s exactly what happened one fateful trip to the lumber yard. I walked in looking for potential and walked out with what might’ve been the ugliest slab in the entire place.
This thing was rough. Three busted sections trying (and failing) to pretend they were still one piece, a suspiciously spongey soft spot, and a shape that would make a geometry teacher cry. Naturally, I thought, “Let’s turn this into a high-end epoxy resin table.”
And, well… my mom said it turned out beautiful. So, you know, that’s something.
Why I Chose the Slab Nobody Else Wanted
There were good slabs at the yard. The kind that make you feel like you know what you're doing; straight grain, clean lines, even a few with that chef's-kiss live edge thing going on. But for some reason, I walked past all of those and stopped in front of what looked like the runt of the litter.
Big John, who runs the yard, took one look at me, one look at the slab, and smirked. “You know, I keep the good ones in back to push someone into taking this one.” Challenge accepted, Big John… Challenge accepted.
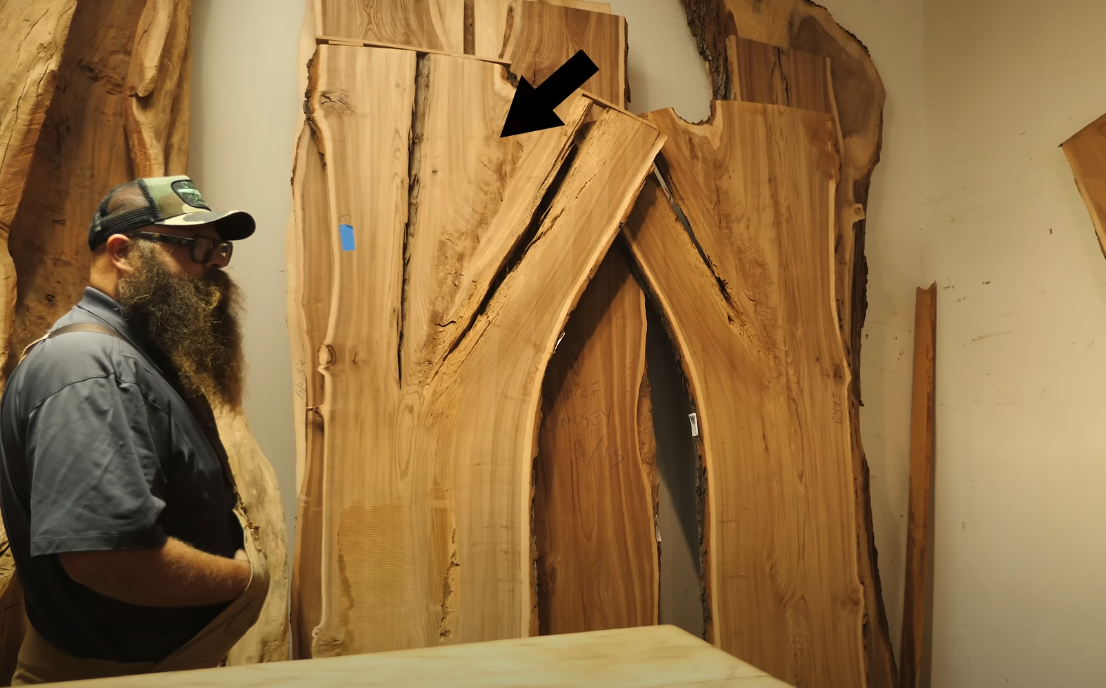
That Moment When You Realize Your Table’s Actually Three Tables

Back at the shop, reality hit fast. What I had wasn’t one solid slab at all, it was three sections being held together with what I’d generously call optimism and a few scrap braces. The second I cut it into a circle, it was gonna crumble faster than a dollar-store folding chair.

So before I did that, I flipped it over and made what I like to call “wooden Band-Aids.” They were off-cuts from the slab, shaped into little rounded reinforcements. Glued 'em on the underside to give it a fighting chance. It felt appropriate. This whole thing needed first aid.
Size Matters, Especially When You’re Comparing to IKEA
I was aiming for a 42-inch diameter. Might not sound huge, but for a coffee table? That’s a big boy. IKEA’s versions usually cap out around 35 inches, and I know what you’re thinking: “What’s seven inches?” Trust me, it’s the difference between a cozy coffee table and one that makes a statement. Same reason you should always spring for the large pizza.
Rot Happens, and You Deal With It
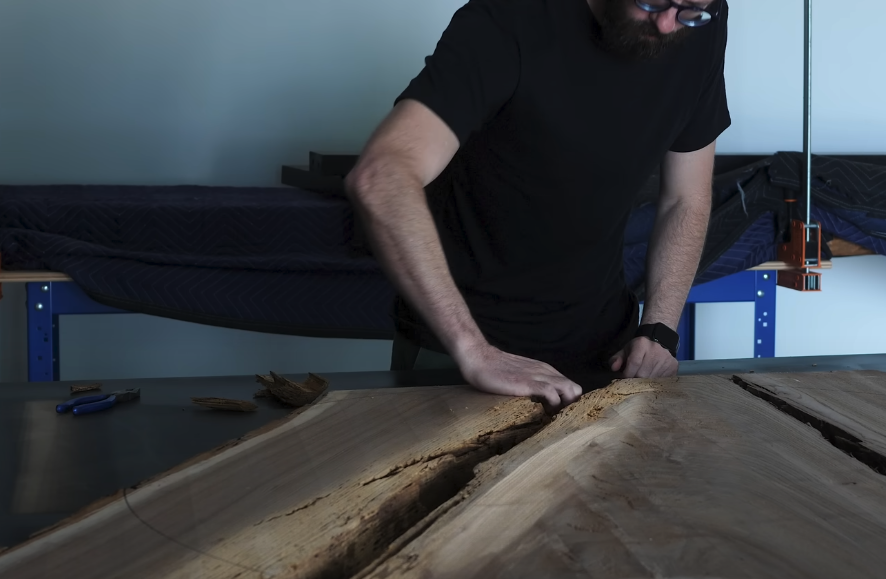
Then came the soft spot. You know when you poke something and it pokes back? That’s what was going on here. I wasn’t sure if it was rot or some weird punky grain, but either way, it wasn’t staying. I started out gently chiseling little bits here and there. But eventually I gave up the surgeon act and grabbed the metaphorical axe.
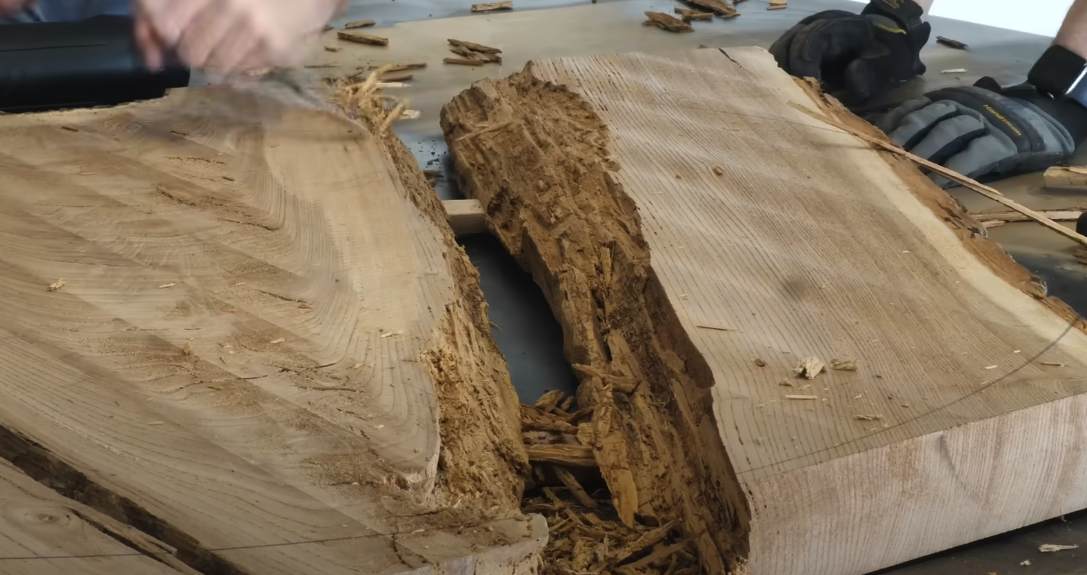
Yeah, it meant a much larger epoxy section than I planned, but like Big John says, “Creativity is the ability to problem-solve.” Not the textbook definition, but it works for me.
Building the Form (and Learning the Hard Way)
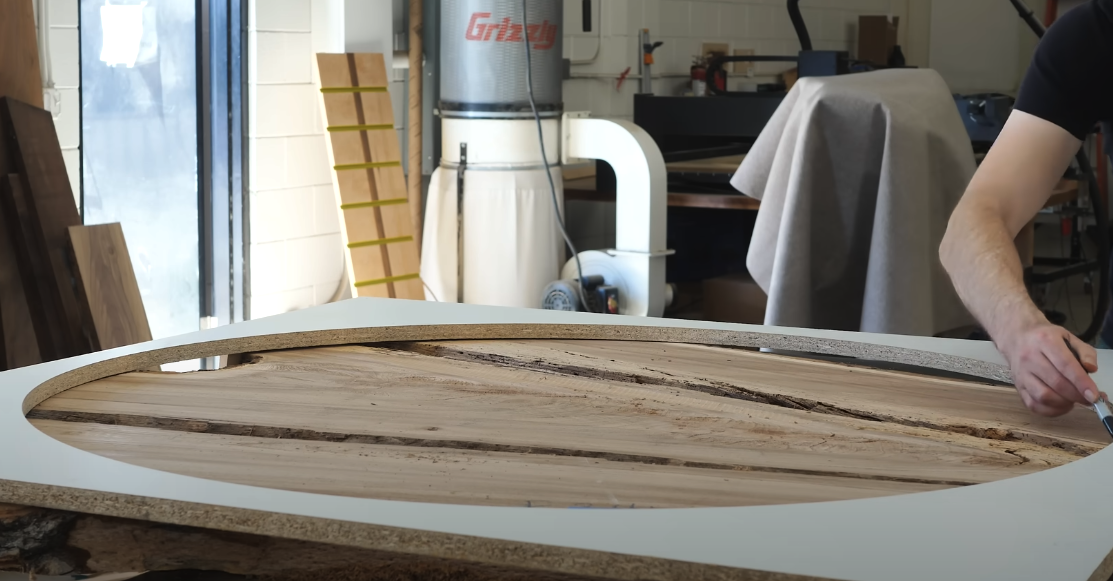
To prep for the epoxy pour, I used a melamine circle as a routing template. Should’ve used it on the slab too because it would have saved me some time, but hey, experience is what you get right after you needed it. I sealed the form, caulked the edges, hit it with mold release, and sanded the slab like it owed me rent.
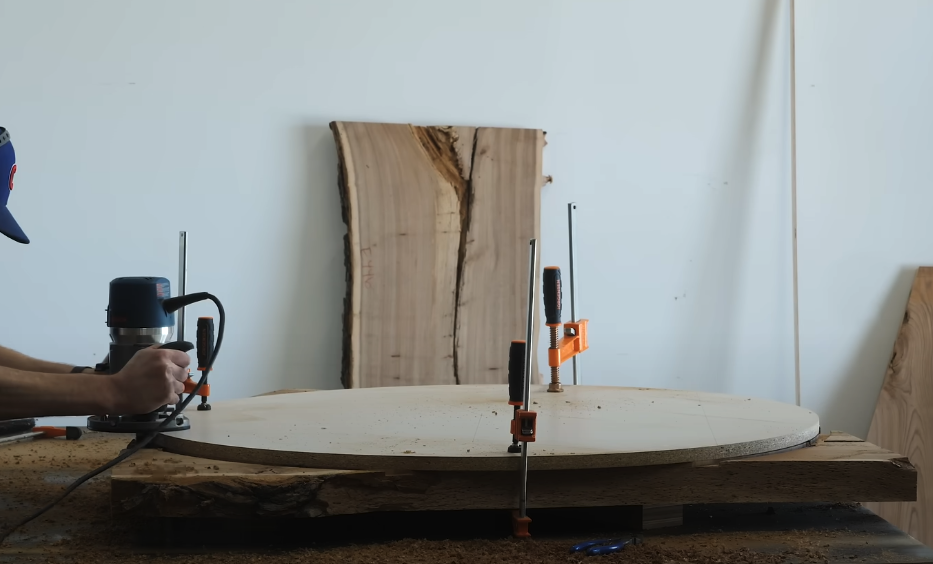
One small problem though: the slab and the form were exactly the same size. No wiggle room. So I ended up chamfering the underside of the slab just enough to let it sit snug inside the mold. Not elegant, but effective. Crisis averted.
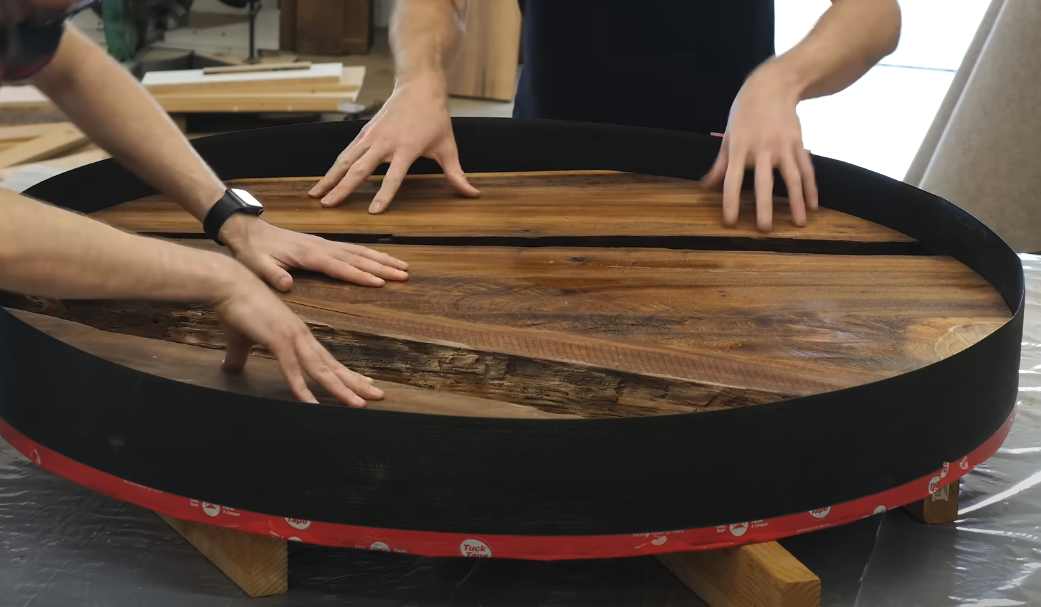
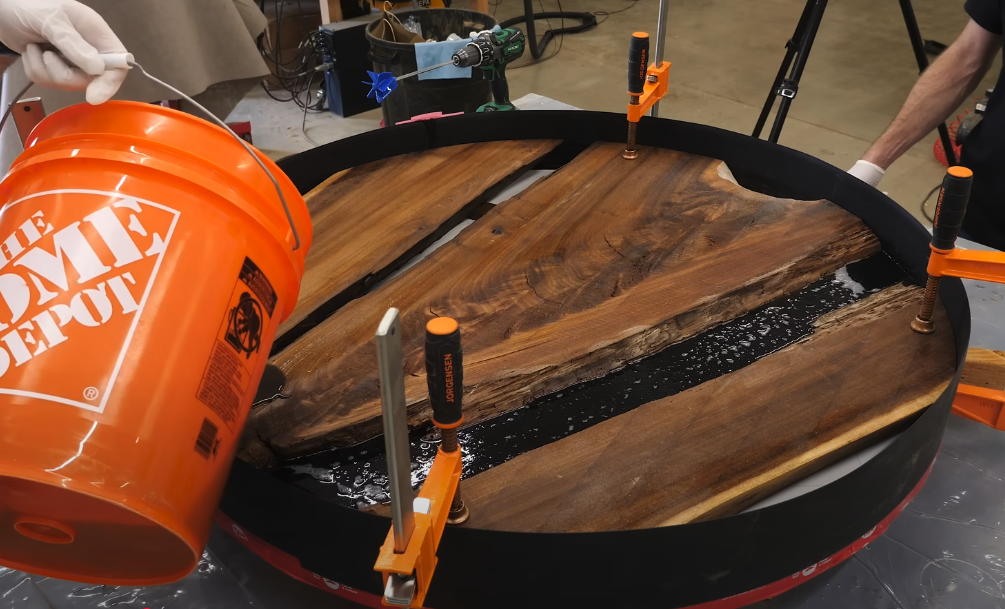
Pour #1: All This Prep for a Few Glorious Minutes
If you’ve ever done epoxy, you know the build-up is intense. You spend hours prepping for a pour that takes maybe three minutes. But when it goes well, i.e. no leaks, no blowouts, it feels like a win. That first pour was smooth as glass. I used TotalBoat Fathom Deep Pour, and it did exactly what it was supposed to do.
While that cured, I shifted gears and got to work on the base.
Designing the Base: When “Too Cool” Isn’t Cool Enough
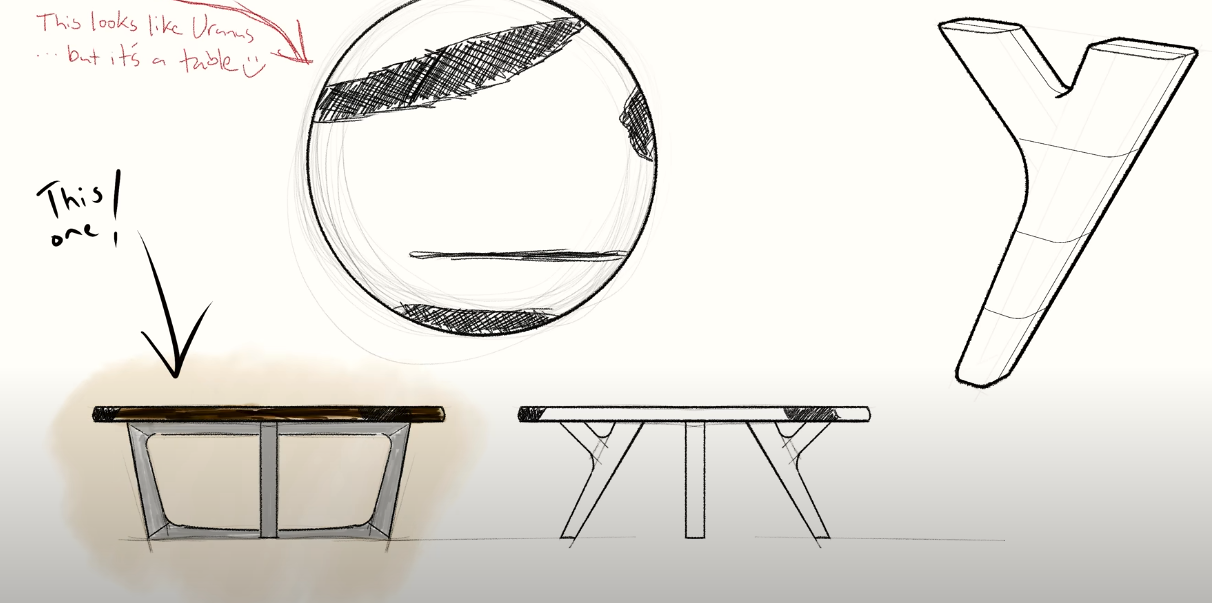
Originally, I had this poetic idea for a base that mimicked the Y-shape of the slab. It looked great on paper but felt like I was trying too hard. So I pivoted to a more classic design that was clean, modern, something that wouldn’t fight the top for attention.
Understated elegance. That’s the vibe.
Why I Switched to Three Legs Mid-Build
Somewhere in the middle of all this, I got it in my head that a three-legged base might look better, (probably had too much coffee). But I cut one of the legs in half and started messing around with layouts and connector pieces using off-cuts from the slab.
It wasn’t the plan, but it was interesting. And fun. So I went with it. Sometimes the best decisions are the ones that don’t make sense until they’re done.
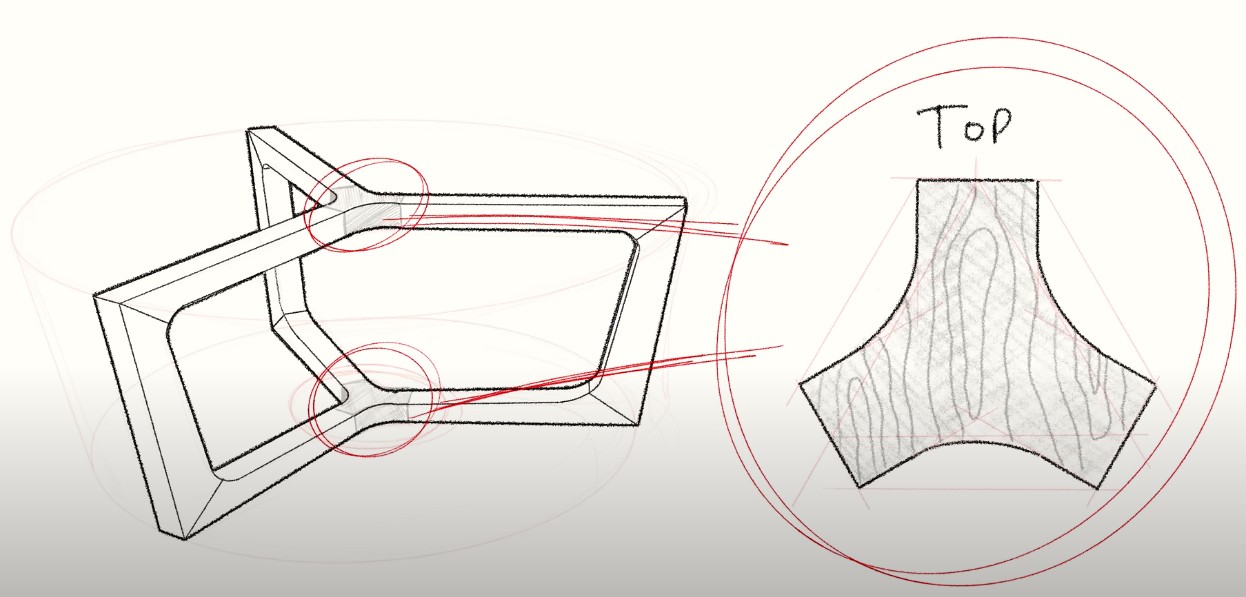
Templates were a lifesaver here. If you’ve ever tried shaping hardwood into organic curves, you know the pain. Templates keep things repeatable and sane. And yes, I use them for nearly everything.
Templates, Domino Joiners & That $480 Tip
I get asked all the time: “Should I buy the big Domino or the small one?” My answer? Save your money and get the small one. I’ve never once needed the big one, and the small one can handle almost everything.
I just saved you $480. Or, I cost you $1000 if you weren’t planning to buy one and now you are. Either way, you’re welcome.
Peeling Off the Mold: Satisfying and Also... Not

Popping off the landscape edging? Pure joy. Legitimately smiled. The melamine base, though, did not come off easy. It bonded like it had abandonment issues. We ended up grinding the whole thing off with a power planer. Lesson learned: next time, triple the mold release spray.
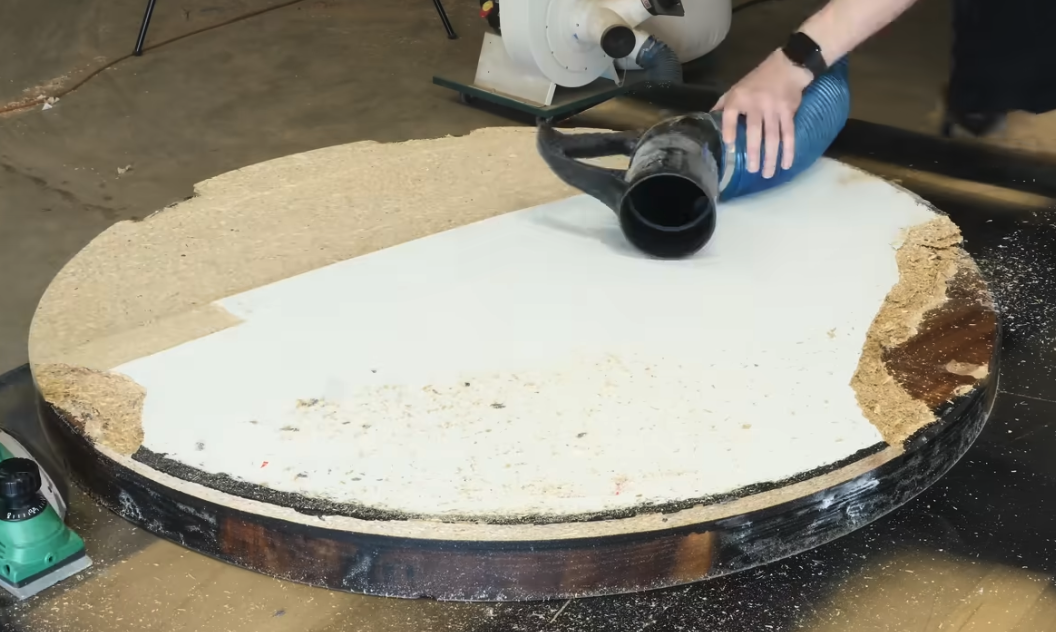
Flattening the Top With CNC: Worth It? Maybe.
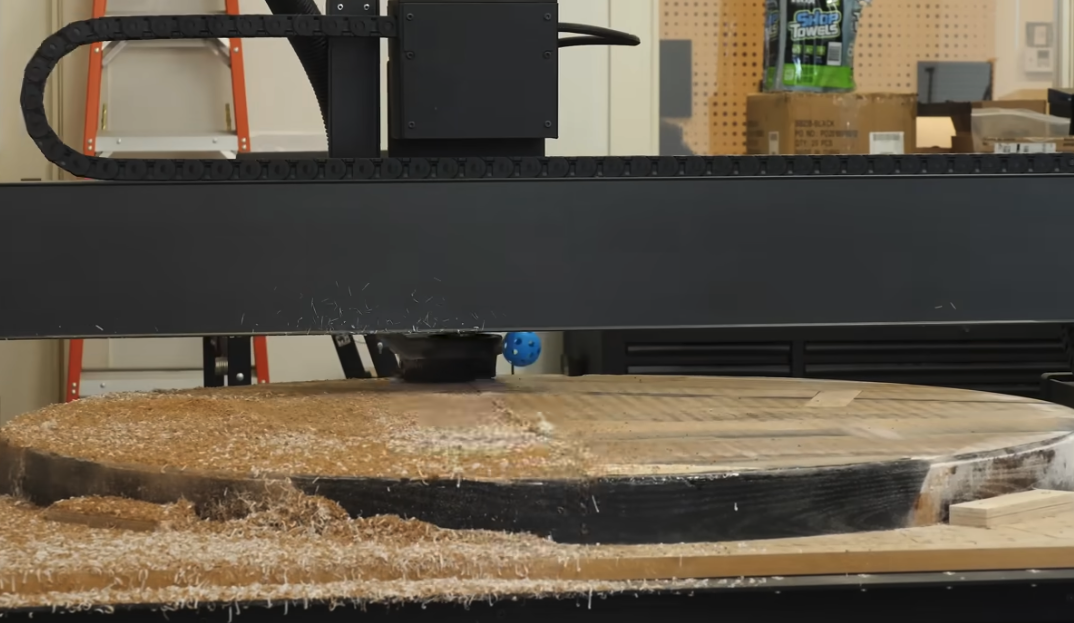
Instead of taking it to a wide belt sander, I used my CNC to flatten the slab. It took nearly seven hours. Was it smarter? Maybe. It saved me a trip, and I could multitask. But it also meant babysitting the machine like a toddler with scissors.
Still… kind of nice to not leave the shop.
Final Touches, Edge Details & Unexpected Geometry Lessons
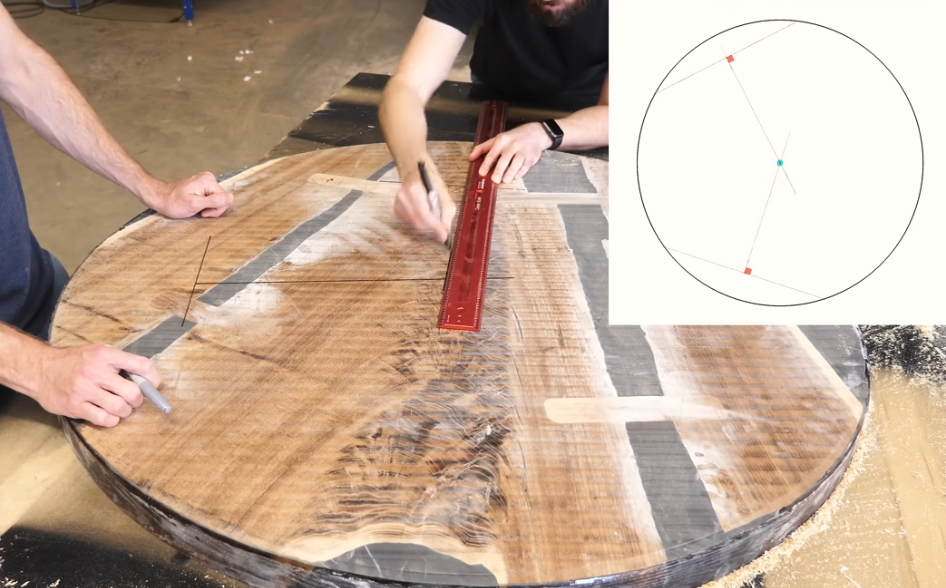
Ever need to find the center of a circle? Here’s a trick: draw two non-parallel chords, bisect them perpendicularly, and where they meet? That’s the center. Geometry turns out to be actually useful.
I added a large chamfer underneath the top, rounded over the top edge, and gave the base a crisp thumbnail profile. It started to look like something. Like, real furniture.

Attaching the Base: MythBusters Style
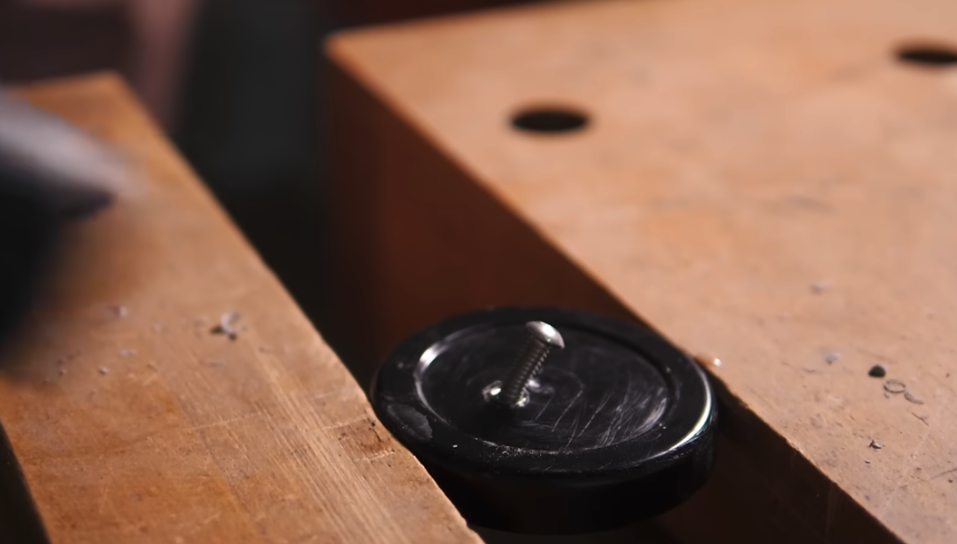
Before gluing everything down, I tested how strong the connection would be. Tried to break the threaded inserts with a hammer. No dice. They held. I mounted the base using epoxy pucks and some hardware, and it felt solid enough to survive a mild apocalypse.
Applying Finish: Where the Magic Happens

I sprayed water-based poly on the maple base to keep it light, and for the top? Sanded until my arms gave out. But then… the grain popped. And I kind of get it now. That feeling when finish hits the wood just right? It’s like fireworks. Quiet, satisfying ones.


The Big Reveal
This whole thing started with the worst slab at the yard. Broken, soft, kind of tragic. And now? It’s a bold, beautiful, and totally unique epoxy resin slab table.


Is it the most beautiful table in the world? Depends who you ask. But it proved to me that even the ugliest piece of wood can become something worth showing off.
And just like pizza…always go with the large.